
Tools & Addons
日本語化ガイド:BlenderのUIを日本語に切り替える方法と注意点
Blenderのインターフェースを日本語に変更する方法を徹底解説。設定手順から日本語化後の注意点まで、日本語ユーザー向けにわかりやすく説明します。
Master 3D. Create Without Limits.
Blenderのインターフェースを日本語に変更する方法を徹底解説。設定手順から日本語化後の注意点まで、日本語ユーザー向けにわかりやすく説明します。

Selection in Blender is way more powerful than most artists realize, and the shortcuts that control it can completely change how fast you work. Here's a breakdown of every selection shortcut worth knowing, from the basics to the ones most tutorials skip entirely.

If you've heard the term TOHA thrown around in rigging communities and had no idea what it meant, you're not alone. This guide breaks down the top-of-hierarchy armature concept in Blender and explains why getting it right from the start saves you a world of pain down the road.
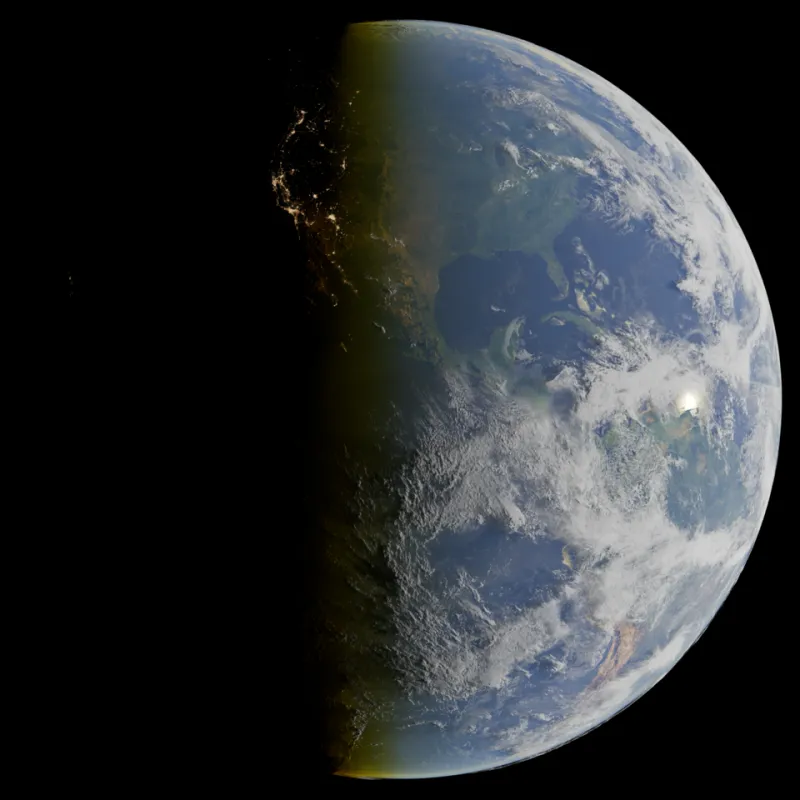
Blender ships with settings tuned for first-timers, not professionals — and those defaults stick around a lot longer than they should. From render output paths to auto-keyframing quirks, the factory configuration creates invisible friction that compounds the deeper you get into a project. Here's the complete rundown of what to change before you touch your next scene.
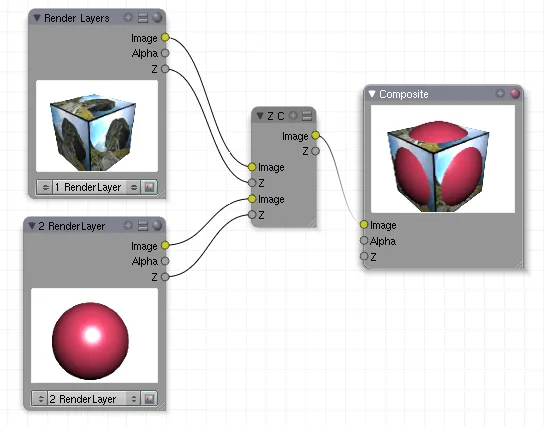
Jumping between Blender and Photoshop for every final render is costing you more time than you think. Blender's compositor has matured into a genuinely capable post-processing environment — and staying inside your project file might be the smartest workflow decision you make this year.
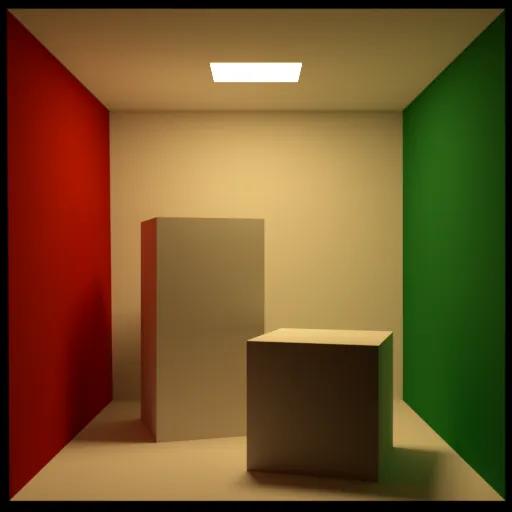
The Blender community has quietly accepted Cycles as the 'serious' render engine and Eevee as the scratchpad. That assumption is costing artists real time and real money. Here's a data-grounded breakdown of exactly when Eevee earns its place as your final output engine — no apologies needed.
Dedicated 2D animation apps have ruled the pipeline for decades, but Grease Pencil has quietly closed the gap in ways most artists haven't noticed yet. We break down where Blender's integrated 2D toolset genuinely competes — and where it actually wins. If you've been paying for separate software to handle your 2D work, it might be time to reconsider.
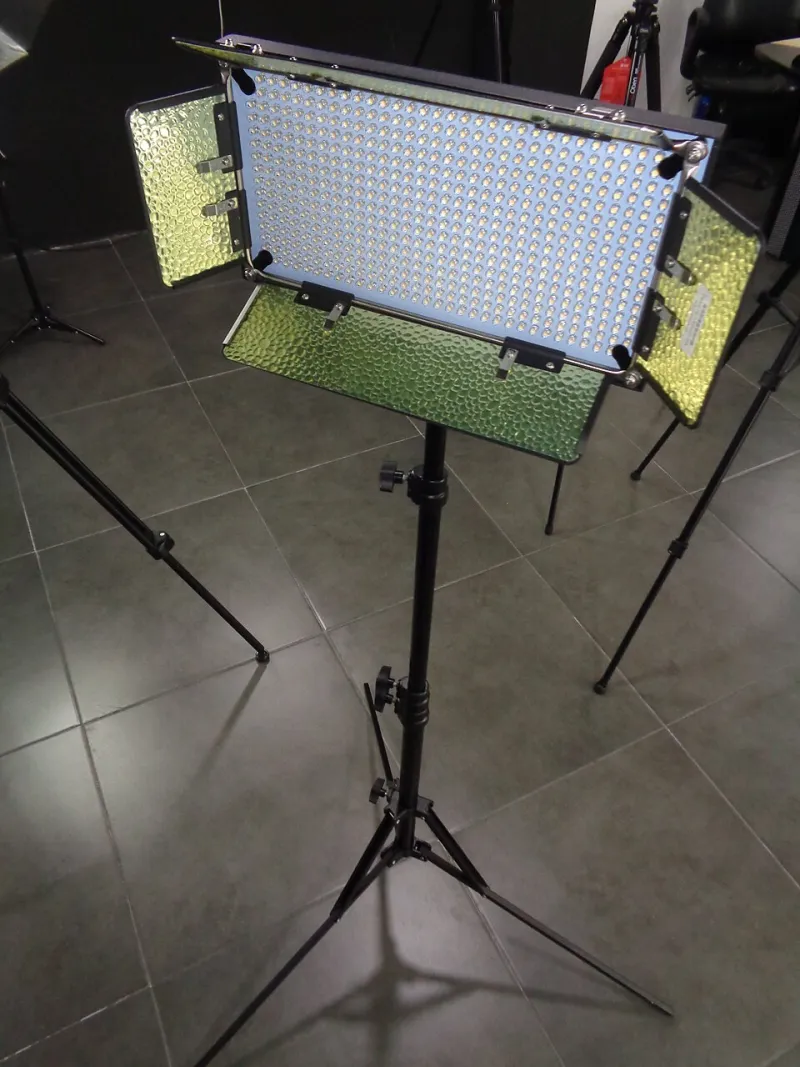
Most Blender artists treat lights like props — scattering them around until the scene looks 'bright enough.' The result is renders that feel hollow, flat, and unmistakably fake. This guide breaks down the actual physics of light behavior and shows you how to audit your scene so your next render stops looking like a tech demo.

Weight painting gets blamed for every ugly deformation, but nine times out of ten the skeleton itself is the real problem. This guide breaks down how professional riggers structure bone chains, where traditional IK/FK setups quietly fall apart, and how to diagnose and salvage a broken rig without nuking months of work.

Slow sculpting in Blender almost never comes down to your hardware — it comes down to how you're managing mesh density. This deep-dive breaks down why subdivision levels, dynamic topology, and polygon budgets are the real culprits behind sluggish brushes, and what professional character artists actually do about it.

Cloud rendering sounds like a no-brainer until the invoice shows up. Before you hand your next project off to a render farm — or drop $3,000 on a new GPU — here's the actual math you need to run first.

Most Blender artists treat UV unwrapping like a chore — slap down some seams, hit Unwrap, and move on. But where you place those seams and how you structure your UV islands has a direct, measurable impact on texture quality, memory budget, and how your asset actually performs in a game engine or visualization pipeline. Here's the technical framework you're probably missing.

Non-destructive workflows sound like a dream — tweak anything, anytime, no regrets. But stack enough modifiers on a complex mesh and you'll start paying a price that nobody warns you about upfront. Here's when the 'always stay flexible' philosophy quietly turns into your biggest productivity killer.

Getting silky-smooth viewport playback feels like a win — until your render farm bill arrives. The optimizations that make your scene feel snappy in the viewport can quietly sabotage your final render times in ways that aren't obvious until it's too late.
That .blend file didn't get to 2GB by accident. Orphaned data blocks, redundant materials, and texture overkill are silently piling up in your projects — and most artists don't notice until things start breaking. Here's a practical, studio-tested guide to diagnosing the bloat and actually getting rid of it.
The mistakes that break your rig aren't made in the weight paint room — they're made the moment you start pushing verts around in Edit Mode. Here's how to trace deformation failures back to their real source and build models that riggers actually want to work with.

Cranking up sample counts until your render looks clean is the most expensive habit in Blender. Understanding why noise appears where it does—and how denoising actually works under the hood—lets you cut render times dramatically without touching output quality.

The most painful rework in character production doesn't happen during animation—it happens when a rigger opens a model and realizes the topology makes clean deformation impossible. Here's how to catch those problems at the modeling stage, before they turn into weeks of fixes.
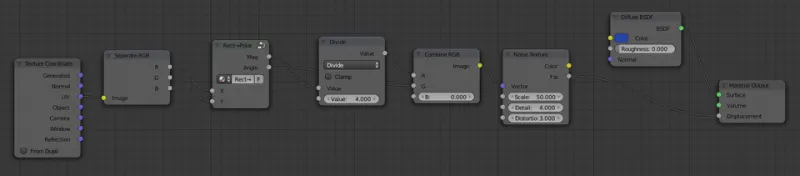
Geometry Nodes can turn a snappy scene into a slideshow faster than almost anything else in Blender. We dug into the real culprits behind slow procedural workflows — memory allocation, node evaluation order, and hardware ceilings — and came back with fixes that actually move the needle.

Slapping the wrong height-based map into the wrong slot is one of the fastest ways to make your Blender renders look like amateur work — even with great textures. This guide breaks down exactly how Blender interprets each map type, when each one falls apart, and how to bake the right format for games, VFX, and 3D printing.