Why Your Blender Renders Look Fake: The Light Physics You've Been Ignoring
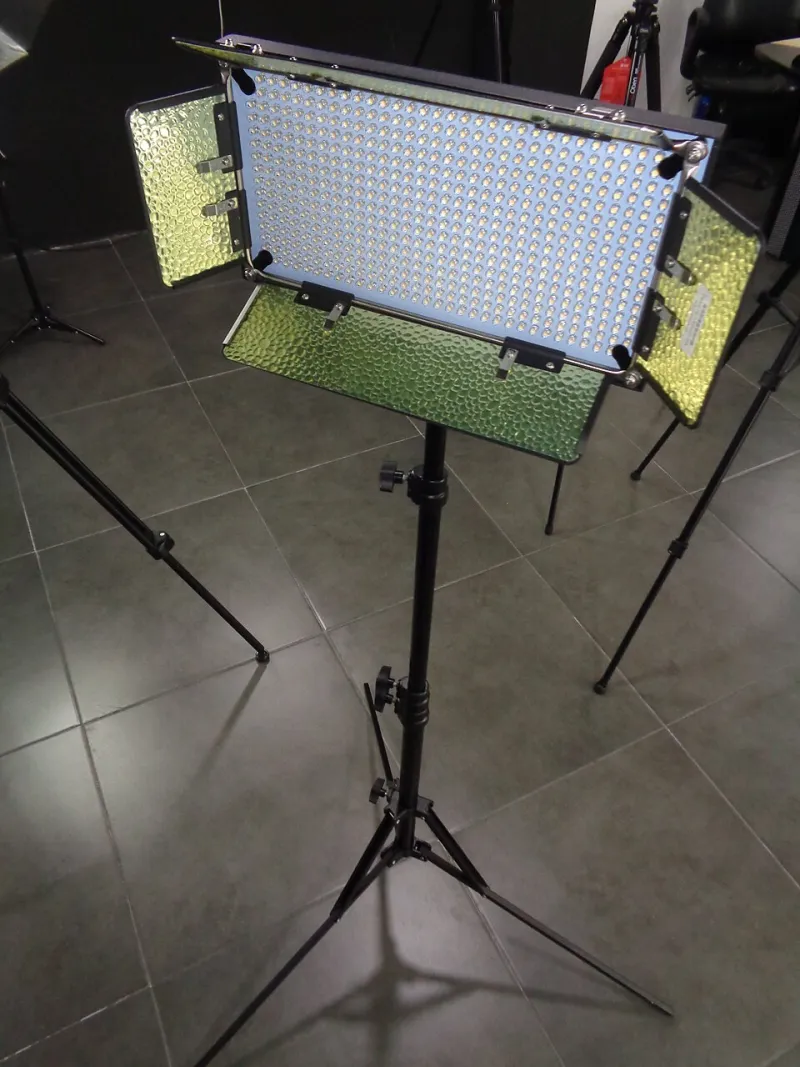
Photo: David Adam Kess, CC BY-SA 4.0, via Wikimedia Commons
There's a specific kind of disappointment that hits when you've spent three hours texturing a scene, hit F12, and the result looks like a PlayStation 3 cutscene. Everything is visible. Everything is lit. And somehow, nothing looks real.
The problem almost certainly isn't your materials. It's not your render samples. Nine times out of ten, it's the way you've been thinking about light.
Most artists — especially folks coming from a hobbyist background — treat lights as decorative tools. You place them where things look too dark. You crank the power until the shadow disappears. You add another area light here, a point light there, until the scene feels "done." What you've actually built is a lighting rig that violates the way light physically behaves, and Cycles is smart enough to make that lie very, very obvious.
Let's fix that.
Light Doesn't Work Like a Paint Bucket
Here's the core issue: in the real world, light obeys the inverse square law. That means if you double the distance between a light source and a surface, the intensity doesn't drop by half — it drops to one quarter. The relationship is quadratic, not linear.
Blender's physically-based lights follow this behavior by default. But most beginners immediately fight against it. The moment shadows appear in a corner, the instinct is to add another light and point it at the problem. Do that enough times and you've got a scene where light appears to come from everywhere and nowhere simultaneously. Shadows become soft to the point of nonexistence. The scene reads as flat because real depth requires real contrast.
Photorealistic images — whether from a film set or a studio photograph — almost always have strong, deliberate shadow regions. Those shadows are what give objects weight and volume. When your lighting setup eliminates them in the name of "visibility," you're trading realism for legibility, and it shows.
How to Actually Audit Your Scene Lighting
Before adding a single new light, do this: open your scene and delete every light except your key light. Render a quick preview. It's going to look harsh and dramatic and probably bad. That's fine. What you're looking for is whether your primary light source makes physical sense — does it have a clear direction? Does it create readable shadow that describes the shape of your objects?
If your scene falls apart without five or six lights propping it up, that's your first red flag. Good lighting architecture is built on a small number of intentional sources, not a swarm of fill lights papering over structural problems.
Once your key light is solid, add fill sparingly. In real environments, fill light comes from light bouncing off surrounding surfaces — walls, floors, other objects. Blender's path tracing handles this through global illumination, which means if you've set up a believable environment, the engine will generate a lot of that fill automatically. Your job isn't to manually replicate every bounce — it's to trust the renderer and stop overriding it with extra lights.
The Intensity Problem Nobody Talks About
Blender measures light power in watts for point and spot lights, and in watts per square meter for area lights. These units are physically grounded, which is great — except most tutorials skip right past them and just say "crank it until it looks right."
Here's a rough anchor: a 100-watt incandescent bulb in a room-scale scene should sit somewhere in the range of 100W in Blender's point light settings. A bright overcast sky HDRI typically lands around 1–3 in the World shader strength. If your interior scene has a single area light cranked to 50,000W to make things bright enough, something upstream is broken — your camera exposure, your world settings, or your material albedo values are probably off.
Get in the habit of working with physically plausible intensity values. It forces you to solve brightness problems at the right layer rather than compensating with brute-force light power.
Color Temperature Matters More Than You Think
One of the fastest ways to make a render feel cheap is to leave all your lights at pure white (6500K) regardless of context. Real light sources have color. Tungsten bulbs are warm — around 2700–3000K. Overcast daylight skews cool and blue. Golden hour sunlight sits around 3000–4000K and wraps everything in amber.
In Blender, you can dial in color temperature using the Blackbody node in a color input, which converts Kelvin values to physically accurate RGB. Plug that into your light's color input and suddenly your scene starts reading as a real place rather than a render farm test.
Mixing color temperatures intentionally is also one of the oldest tricks in cinematography. A warm interior against a cool exterior window creates immediate visual contrast and depth. It tells a story about time of day and environment without a single line of dialogue — or in our case, without a single extra polygon.
HDRI Isn't a Crutch — But You Might Be Using It Like One
HDRI lighting is genuinely powerful. Dropping a high-quality HDRI into your World shader gives you complex, multi-directional lighting that would take hours to manually recreate with individual lights. But a lot of artists use HDRIs as a shortcut and then wonder why their scenes still look generic.
The issue is that HDRIs provide ambient light by default — they wrap your scene in a 360-degree environment. That's great for product shots or isolated objects. For architectural interiors or narrative scenes, you often need to combine the HDRI with deliberate local lighting that matches the story you're telling. Use the HDRI for ambient and sky contribution, but build your key and fill lights manually to control the mood.
Also: rotate your HDRI. The default orientation almost never puts the sun in a useful position. Spend two minutes rotating the environment so the dominant light source aligns with your scene's windows, openings, or natural light logic. It's a small adjustment that makes a significant difference in how convincing the result feels.
Less Is Usually More
If there's one mindset shift that will immediately improve your renders, it's this: stop adding lights to solve problems and start removing them to reveal the scene's natural structure.
Every time you're tempted to drop another area light into a corner, ask yourself what's actually causing the problem. Is it your HDRI strength? Your camera exposure? Your material's roughness value bouncing light incorrectly? Chances are the issue isn't a missing light — it's something upstream that an extra light is masking rather than fixing.
Real cinematographers work with remarkably few sources. A key, a fill, maybe a rim or a practical light for motivation. The restraint is the point. Constraint forces you to solve problems correctly instead of throwing more light at them.
Your renderer is doing physics. Let it.