Viewport Speed Is a Lie: What Your Smooth Preview Is Actually Hiding From You

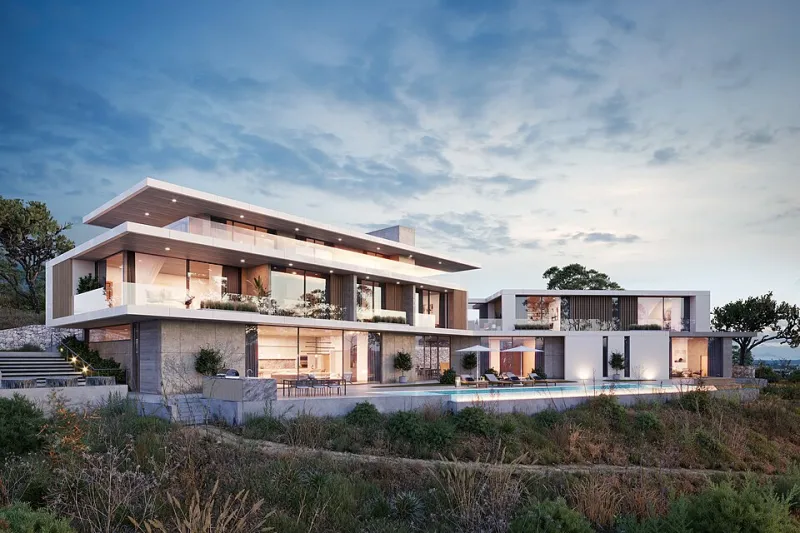
Photo: Tuantranseo, CC0, via Wikimedia Commons
There's a particular kind of pain that hits Blender artists somewhere around hour three of a render they expected to finish in forty minutes. You spent all that time tuning your scene — dialing back subdivision levels, simplifying particle counts, keeping the viewport butter-smooth at 60fps — and now Cycles is grinding through frames like it's running on a graphing calculator. What went wrong?
The short answer: viewport performance and render performance are measuring almost completely different things. Optimizing one without understanding the other is like tuning your car's dashboard lights to make the speedometer look better. It's cosmetic. The engine doesn't care.
Why the Viewport and the Renderer Don't Speak the Same Language
Blender's viewport is built around rasterization — a technique that draws geometry by projecting triangles onto your screen as fast as possible. It's the same underlying approach used in real-time game engines, and it's extraordinarily good at making complex scenes feel interactive. Cycles, on the other hand, traces the mathematical path of light rays through your scene, bouncing them off surfaces and calculating how energy accumulates. These are fundamentally different computational problems.
When you optimize for viewport speed, you're reducing the rasterization workload. When Cycles struggles, it's usually because of something the viewport barely notices at all — deep shader node trees, high-poly geometry that needs to fit into BVH acceleration structures, volumetric effects, or light paths that bounce through complex materials dozens of times.
The result is a disconnect that catches artists off guard constantly. Your viewport says everything is fine. Your render timer says otherwise.
The Settings That Create the Most Misleading Previews
Subdivision Surface modifiers are the classic culprit. Most experienced Blender users know to keep their viewport subdivision level low — a level 2 preview for something that renders at level 4 is totally standard practice. But here's what people miss: the render subdivision isn't just adding more polygons. At higher levels, it's also affecting how displacement maps resolve, how normals interpolate across curved surfaces, and how long Cycles spends building its BVH tree at render time. A scene that runs at 60fps in the viewport with subdivision turned down can take three times as long to render simply because of the geometry explosion at final settings.
Particles and hair systems have a similar problem. Blender lets you set separate display and render counts for particles, which is great — but artists often forget to check what the render count actually is. You might be previewing a grass field with 10,000 strands while the render count is sitting at 500,000. The viewport has no idea. It's showing you something that looks roughly right without telling you what it's actually committed to generating.
Eevee previews in a Cycles scene are another trap. If you're using Eevee for your viewport preview (which is fast and often visually convincing), you're seeing a completely different lighting model than what Cycles will produce. Eevee fakes reflections, approximates global illumination, and handles transparency with shortcuts. A scene lit beautifully in Eevee preview might look completely different in Cycles — and if you've built your lighting around what Eevee was showing you, you'll spend extra render time chasing an image that the viewport was never actually computing correctly.
Volumetrics: The Silent Render Killer
Nothing illustrates the viewport/render gap more dramatically than volumetric effects. Blender's viewport renders volumes at a heavily reduced resolution by default — you can control this in the Viewport Overlays settings, but most people leave it at defaults. Fog, smoke, fire, atmospheric haze — all of it looks softer and cheaper in the viewport than it will in your final render.
The dangerous part is that volumetrics scale non-linearly with quality settings. Doubling your volume render steps doesn't double your render time — it can multiply it by four or more depending on how dense and complex the volume is. Artists who build elaborate atmospheric scenes using the viewport as a guide are often genuinely shocked when they hit render.
Building Scenes That Work in Both Contexts
The goal isn't to make your viewport slower — it's to stop treating viewport performance as a proxy for render performance. Here's how to actually keep both in check.
Use render preview mode more often. Blender's rendered viewport (Z key, or the camera icon in the viewport header) runs an actual Cycles or Eevee render in real time. Yes, it's slower than solid or material preview. But it's the only viewport mode that's actually telling you the truth about your final image. Building a habit of checking rendered preview at key stages of your scene-building process will catch problems before they become expensive.
Benchmark your scene early. Before you're deep into lighting and shading, do a test render of a single frame at your final settings. Note the time. This gives you a baseline and forces you to confront render cost early, when it's still easy to make changes.
Audit your subdivision render levels explicitly. Go through every object in your scene with a Subdivision Surface modifier and check the render level. Don't assume you set it correctly six weeks ago when you first built the mesh. It's a thirty-second check that can save hours.
Track your particle render counts in a spreadsheet or scene notes. This sounds obsessive, but if you're working on a complex environment scene with multiple particle systems, it's genuinely easy to lose track of what's set to what. A quick text note in your scene or a Blender annotation can save you from discovering a 2-million-strand render count the hard way.
Understand what Eevee is lying about. Eevee is a fantastic tool, and for many projects it's the right renderer. But if you're using it as a preview for a Cycles render, know its limitations. Screen-space reflections don't show objects that are off-screen. Ambient occlusion is approximated. Indirect lighting is baked or faked. Use it for speed, but verify in Cycles before you commit to a lighting setup.
The Bigger Picture
Smooth viewport performance is genuinely valuable — it reduces creative friction and keeps you in flow. Nobody's saying you should let your viewport crawl. But viewport smoothness is a tool for comfortable scene construction, not a signal that your render is going to be efficient.
The artists who consistently hit their deadlines and keep their render times predictable are the ones who understand both systems independently. They know why the viewport is fast, they know why Cycles is slow, and they build their scenes with both realities in mind from the start.
Your viewport isn't lying to you out of malice. It's just answering a different question than the one you think you're asking. Learn to ask the right questions, and you'll stop being surprised by the answers.